In my 25 years of building technology businesses from the ground up here in Gujarat, I have learned one lesson that stands above the rest: control your core infrastructure. In an era dominated by cloud giants, it is tempting to outsource everything. Yet, the simple act of managing your own email server is not just a technical task; it is a statement of sovereignty, a commitment to security, and the bedrock of professional communication. I often see young startups stumble here, using generic email addresses that undermine their credibility before they have even written a single line of code. Today, I want to demystify this process and show you how to set up your own professional email accounts using ISPConfig, a tool that has been a reliable workhorse in my own operations for years.
ISPConfig is a powerful, open-source control panel that gives you granular control over your web server, and its email management capabilities are second to none for most small to medium-sized enterprises. Taking the time to master it means you are not just creating an email address; you are building a resilient, private communication channel for your team and your clients. This is not just about sending and receiving messages; it is about building trust, one correctly configured DNS record at a time. Let us walk through this together, step by step.
The Foundation: Preparing Your ISPConfig Environment
Before we dive into creating the actual mailboxes, we must ensure the groundwork is properly laid. This is where most people make mistakes, rushing to the finish line without checking if the foundation is solid. In ISPConfig, this begins with having a client and a website set up under that client. Your domain name (e.g., yourcompany.com) must be configured as a website first, as ISPConfig logically links email domains to existing web domains. Think of it as building a house (your website) before you can install the mailbox.
Once you are logged into your ISPConfig panel as the administrator, your first step is to navigate to the 'Email' tab. This is your command center for everything we are about to do. The interface is clean and functional, designed for clarity over flashiness-a principle I deeply respect in software engineering. Ensure the domain for which you want to create email accounts is listed under 'Email Domain'. If not, you may need to go back and ensure the website for that domain is active and has the 'Enable Mail' feature checked in its settings.
Your Step-by-Step Guide to Creating Mailboxes
With the foundation in place, creating the actual user mailboxes is a straightforward process. This is where you will create the individual accounts for your team members, like 'info@yourcompany.com' or 'sandeep.mundra@myteam.com'. Follow these steps carefully.
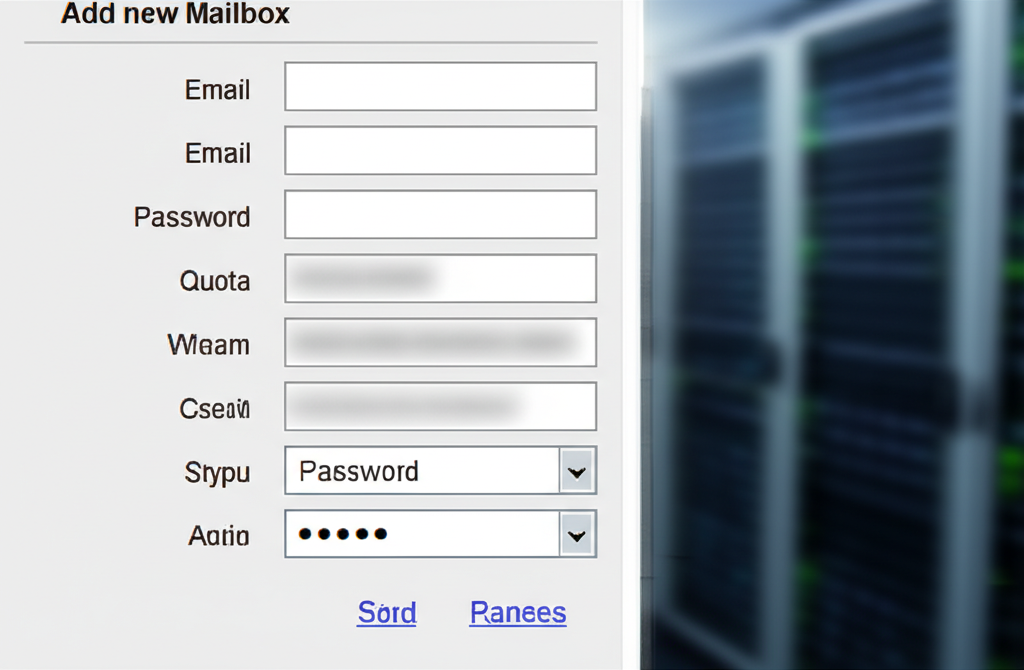
- Navigate to the Mailbox Section: In the left-hand menu under the 'Email' tab, click on 'Mailbox'. This will bring you to a list of all existing mailboxes. To create a new one, click the 'Add new Mailbox' button.
- Fill Out the Mailbox Form: You will be presented with a form. This is the most crucial part. You would typically see a screenshot here showing the fields you need to complete. Let's break them down:
- Email: Enter the first part of the email address (e.g., 'sandeep', 'support', 'contact'). The domain part is selected from a dropdown.
- Password: Create a strong, unique password. I cannot stress this enough. Use a combination of upper and lower case letters, numbers, and symbols.
- Quota: This determines the maximum size of the mailbox in megabytes (MB). A value of '0' means unlimited, but I advise setting a reasonable limit, like 2048 (2GB) or 5120 (5GB), to prevent a single account from consuming all your server's disk space.
- Other Fields: You can typically leave other fields like 'Send copy to' or 'Spamfilter' at their default settings for now. You can always come back and fine-tune these later.
- Save and Verify: Once you have filled everything out, click the 'Save' button. ISPConfig will now provision the mailbox on the server. This may take a minute or two as it creates the necessary directories and permissions.
In business, as in technology, the small, foundational details determine your success. A properly configured SPF record is like a firm handshake-it establishes trust and ensures you are taken seriously. Neglect it, and you will find your most important messages are never even seen.
The Critical Backend Work: DNS and Security
Creating the mailbox is only half the battle. To ensure your emails are delivered reliably and not flagged as spam, you must configure your domain's DNS records correctly. This is a non-negotiable step.
MX, SPF, and DKIM: The Trio of Trust
Your DNS is managed wherever you registered your domain (e.g., GoDaddy, Namecheap, Cloudflare). You will need to add or edit the following records:
- MX Record (Mail Exchanger): This record tells the world which server is responsible for handling your domain's email. It should point to your ISPConfig server's hostname (e.g., mail.yourcompany.com).
- SPF Record (Sender Policy Framework): This is a TXT record that lists the IP addresses authorized to send email on behalf of your domain. It is a critical defense against email spoofing. ISPConfig provides the correct SPF value for you under the domain's DNS records section.
- DKIM (DomainKeys Identified Mail): DKIM adds a digital signature to your outgoing emails, allowing receiving servers to verify that the message was sent by you and has not been tampered with. ISPConfig makes this easy to set up from the 'Email Domain' section.
I remember a crucial project for a client in my early days. We had built a fantastic platform, but notifications to their customers were landing in spam folders. Panic set in. After hours of debugging the application, we realized the problem was not in the code, but in a missing SPF record. A single line of text in their DNS settings was costing them thousands in customer engagement. That day, I learned that a leader must understand the entire technology stack, from the grandest vision down to the humblest TXT record.
Connecting Your Email Client
Once your mailbox is created and DNS is set, you can connect it to an email client like Outlook, Thunderbird, or your phone's mail app. You will need the server details, which are generally standard across ISPConfig setups.
| Setting | Incoming Server (IMAP) | Outgoing Server (SMTP) |
|---|
| Server Address | mail.yourdomain.com | mail.yourdomain.com |
| Port | 993 | 465 (or 587) |
| Encryption | SSL/TLS | SSL/TLS (or STARTTLS for port 587) |
| Username | Your full email address | Your full email address |
| Password | Your mailbox password | Your mailbox password |
Finally, you can also access your email through a web browser by navigating to your server's webmail client, which is typically Roundcube in a standard ISPConfig setup. This is a great way to verify that the account is working before you configure it on all your devices.
Conclusion: Taking Command of Your Communications
Setting up your email in ISPConfig is more than a technical exercise. It is an act of taking ownership. You are building a secure, professional, and independent communication channel that you control. By following these steps-from creating the mailbox to meticulously configuring your DNS-you are not just setting up an email service; you are building a pillar of your digital identity. Do not shy away from the technical details. Embrace them, understand them, and use them to build a stronger, more resilient organization. Now, go and build something great.